

How to Create a Smooth Ken Burns Effect Sequence in iMovie
tl;dr Ken Burns is a great way to animate still images. Unfortunately, iMovie only allows you to pan and zoom from one point to another. I'll show how to smoothly chain several transitions.
The Ken Burns effect is by far the most prominent method to bring life into a still image that is shown as part of video. Maybe you didn’t know it was called ‘Ken Burns’ (after the famous documentary filmmaker), but you have definitely seen it. It basically is a sequence of one (or several) zoom and pan transitions within a still image (e.g. a painting).
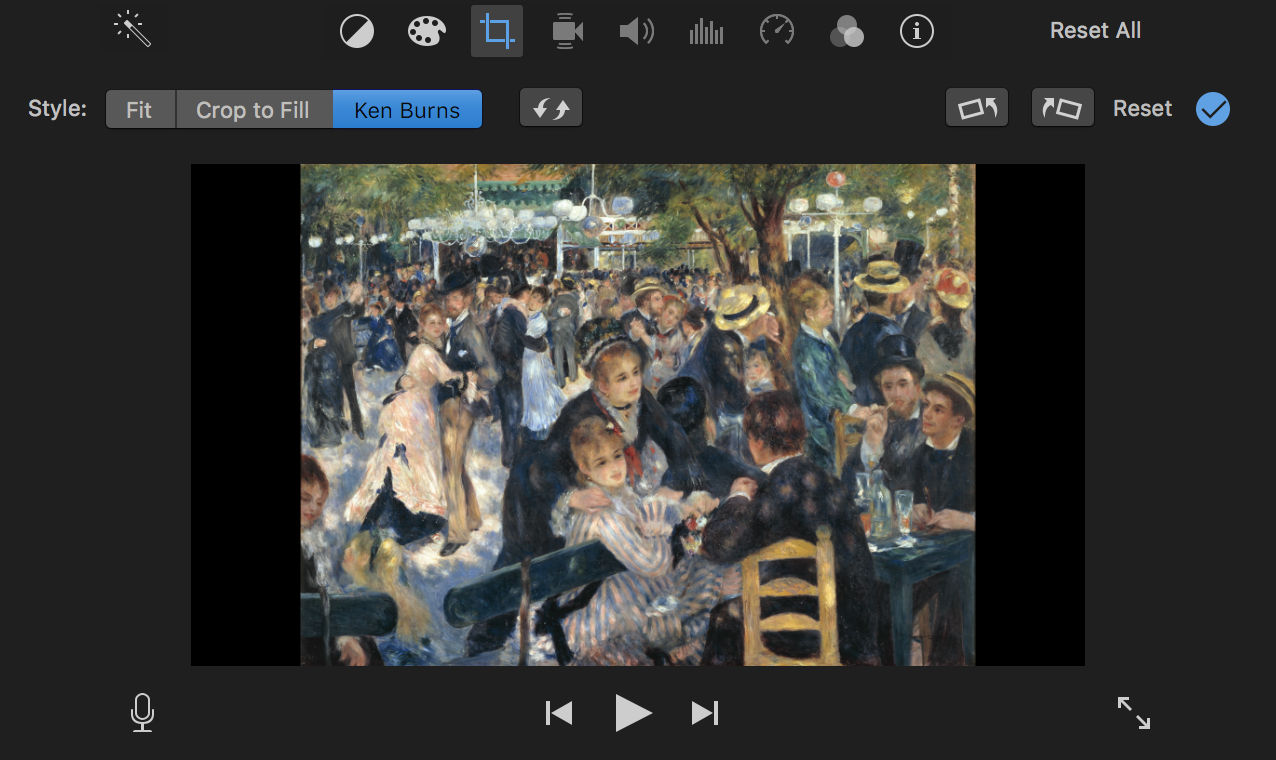
Using Ken Burns in iMovie is straightforward: Drag an image into your project’s timeline (or into your media
collection and then into the timeline), click on the still image in the timeline to select it, then click on the
Cropping icon in the top right toolbar. Select Ken Burns.
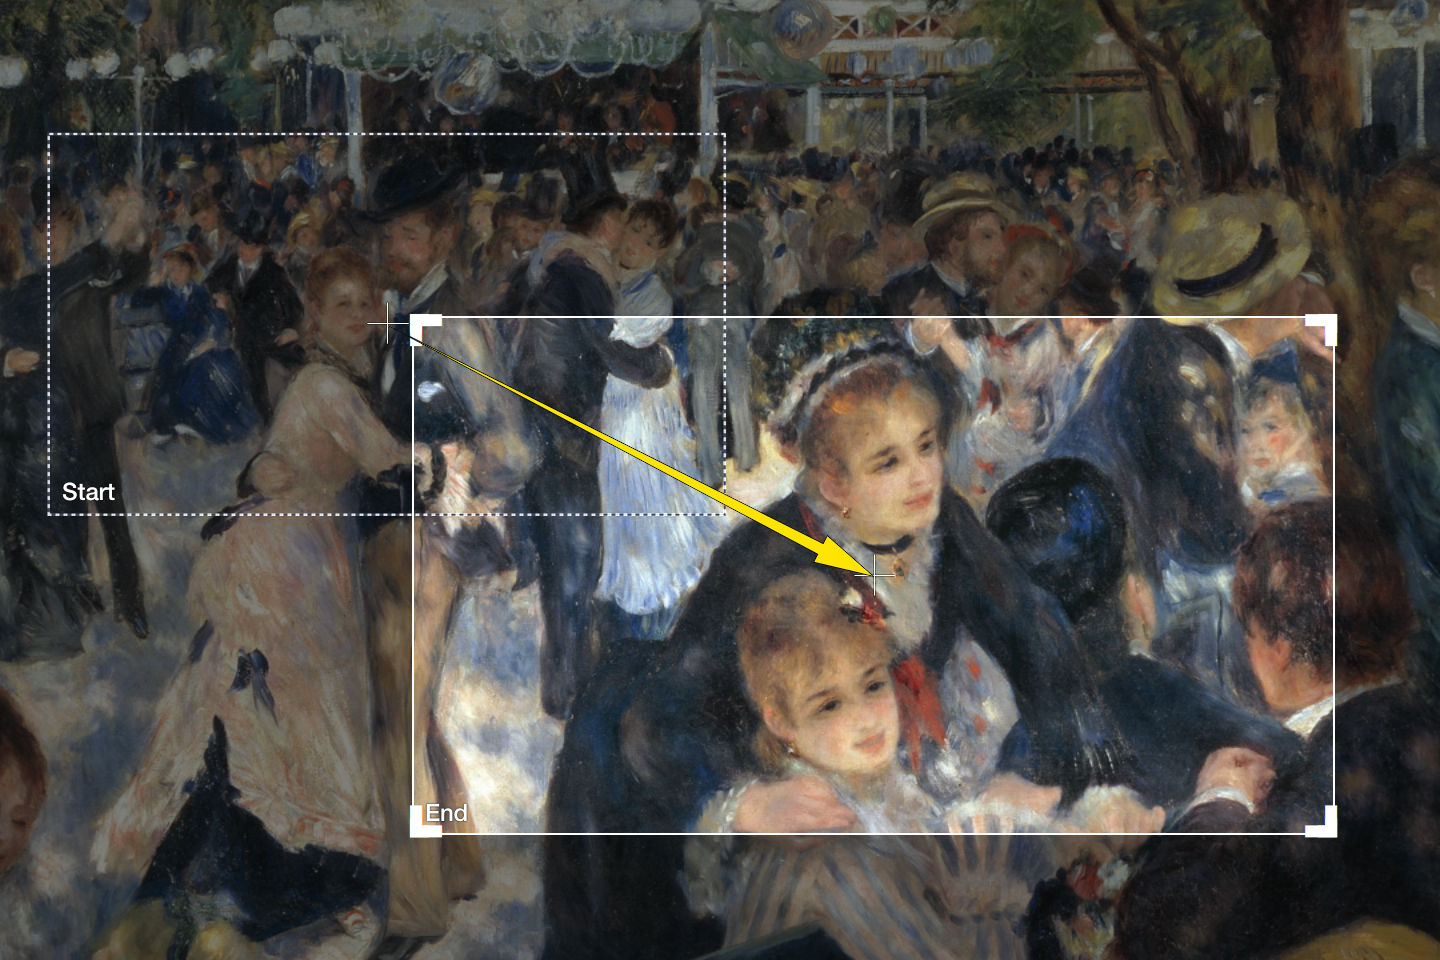
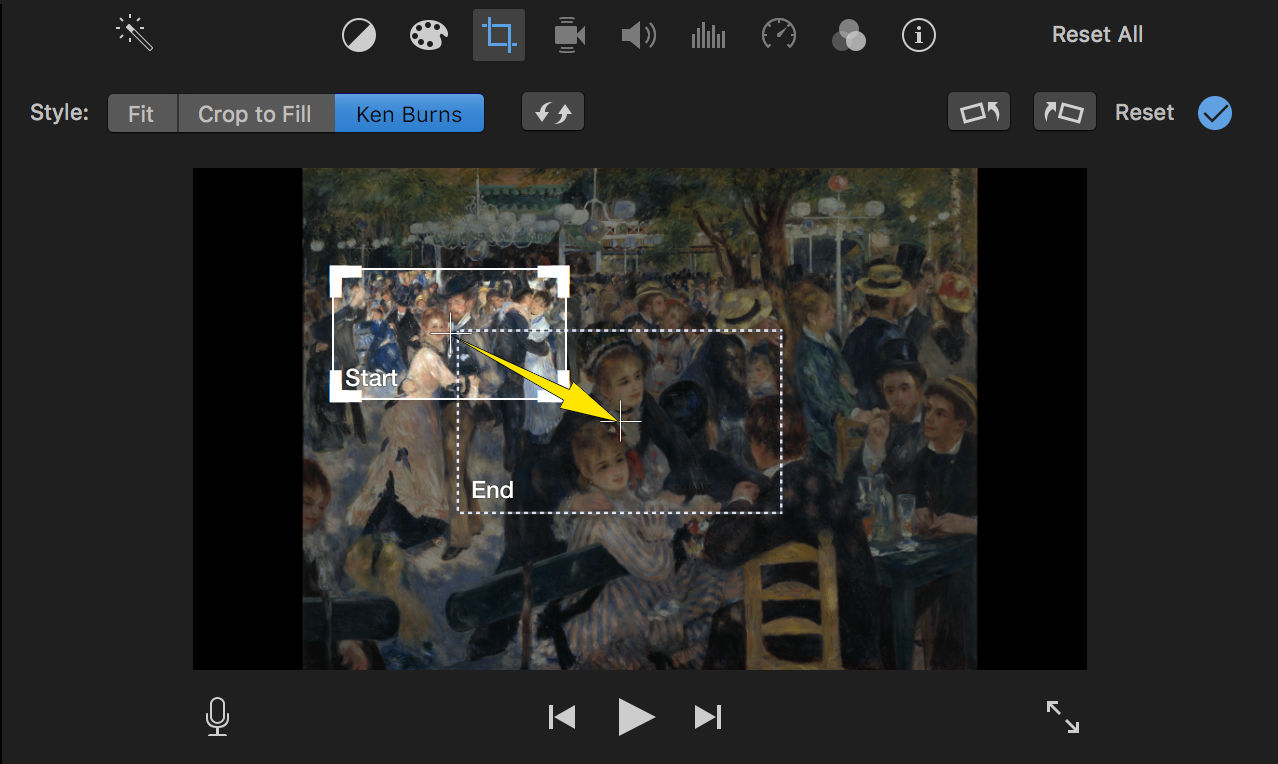
Now you can easily adjust the Start and End frame to define the zoom/pan transition, as shown in the first image above. Press play and you’ll see a smooth linear transition from one frame to the other. However, what if you want more than this one transition? Say you want to start with the zoomed-in portion of a historic painting, leave the camera there for a few seconds, then pan/zoom to a different area of the painting, again rest for a couple seconds and then zoom out to see the entire painting.
Obviously this can be achieved by combining the effect several times. But how do we start one Ken Burns effect exactly where the previous one ended? A “multi-stop” Ken Burns is something that more advanced video editing programs support, but iMovie unfortunately doesn’t have this feature. Luckily, with just a few simple tweaks we can produce a smooth effect sequence even with iMovie. Here’s how to do it:
Smooth Transition from a Still Frame
Pick the still image and create the Ken Burns effect for the first transition.
As stated above, we want the camera to remain still on the first area for a few seconds before the transition starts. To achieve this
Copyandpastethe timeline segment you just created.Selectthe left copy.- Instead of
Ken BurnschooseCrop to Fillin the toolbar. HitEnter.
This will cause the Start frame to to become the fixed crop frame for the entire segment. You should now have two segments in the timeline, the first with no movement and the second with the transition you defined in the beginning.

Note that you can adjust the duration of these segments at will - the transition between the still image and the transition will remain seamless.
Smooth Transition to a Still Frame
Now let’s have the camera rest on the End frame of the Ken Burns transition we defined. Again
Copyandpastethe timeline segment with the transition.Selectthe right copy.-
Swapthe Start and End frame by clicking on what looks like a Refresh icon in the toolbar.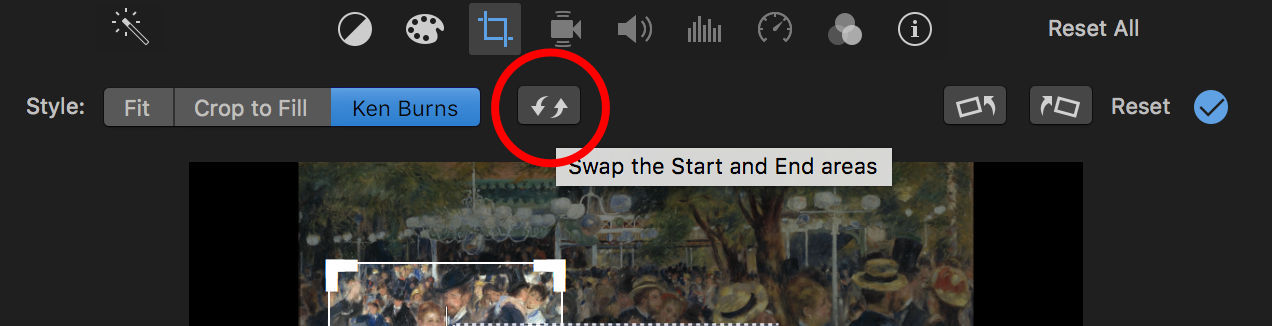
- Instead of
Ken BurnschooseCrop to Fillin the toolbar. HitEnter.
The trick here is to swap Start and End, otherwise the camera would jump back to the previous crop area.
Chaining Multiple Transitions
Now you have all the tools you need. You can create arbitrary combinations of still segments (with Crop to
Fill) and motion segments (with Ken Burns). Whenever you need to add a new segment, simply copy and paste the
previous one. If the previous one was a still segment, you can just switch to Ken Burns. If it was a itself a Ken
Burns segment, you need to swap Start and End before adjusting its frames.
Here’s what a sequence of smooth transitions looks like:
In a Nutshell
It’s possible to do smooth “multi-stop” Ken Burns transitions with iMovie. Simply copy and paste the segments,
and swap the Start and End areas of the copy. If you want still segments, change the effect to Crop to Fill.
That’s it.
PS: In case you were wondering - the painting is “Le Moulin de la Galette” by Renoir.